Introduction
Tracking pixels enable you to measure your cost per acquisition and return on investment by tracking the actions users take after viewing or engaging with your ads on Twitter. Set up conversion tracking on your website to analyze, compare, and optimize your direct response campaigns.
If you want to track the conversions that happen on your website, you must first create a Conversion pixel and then place it on your website.
Creating A New Twitter Pixel
To create a new Twitter pixel:
- Navigate to the Twitter Media plan.
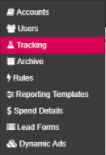
- Navigate to the Config dropdown menu and select Tracking.
- Click on the Create New Pixel button.
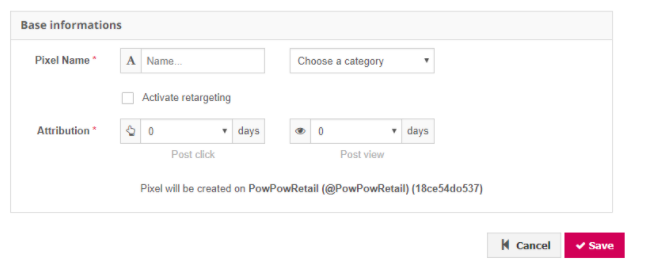
- Name your pixel.
- Choose what type of conversion you’d like to track with this tag. Available tag types are Site Visit, Purchase, Sign Up, Download, or Custom. Choose “Custom” if you’re tracking a different action than the conversion events Twitter has predefined.
- Activate remarketing if you want to retarget people who have recently visited your website. (On Twitter, the website tag for remarketing is the same tag as the website tag for conversion tracking from this page).
- Choose your tracking attribution window.
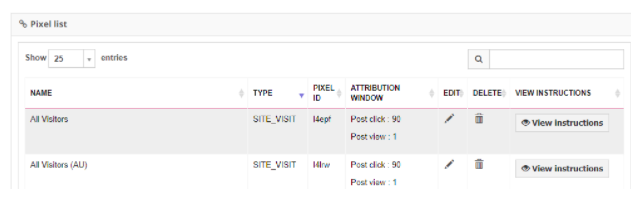
- After creating the pixel. Click View instructions to select, copy your pixel and install it on the correct page of your website.

Note: Make sure to use different types of pixels, otherwise Twitter will add up all the values in the same column.
Editing & Deleting Pixels
The Marin Social platform allows you to edit and delete your pixels. You can also download all pixel calls.
- To edit a pixel, click on the 'pencil' icon in the Edit column.
- To delete a pixel, click on the 'trash can' icon in the Delete column.