Introduction
The main tabs within the platform feature a workspace known as the grid.
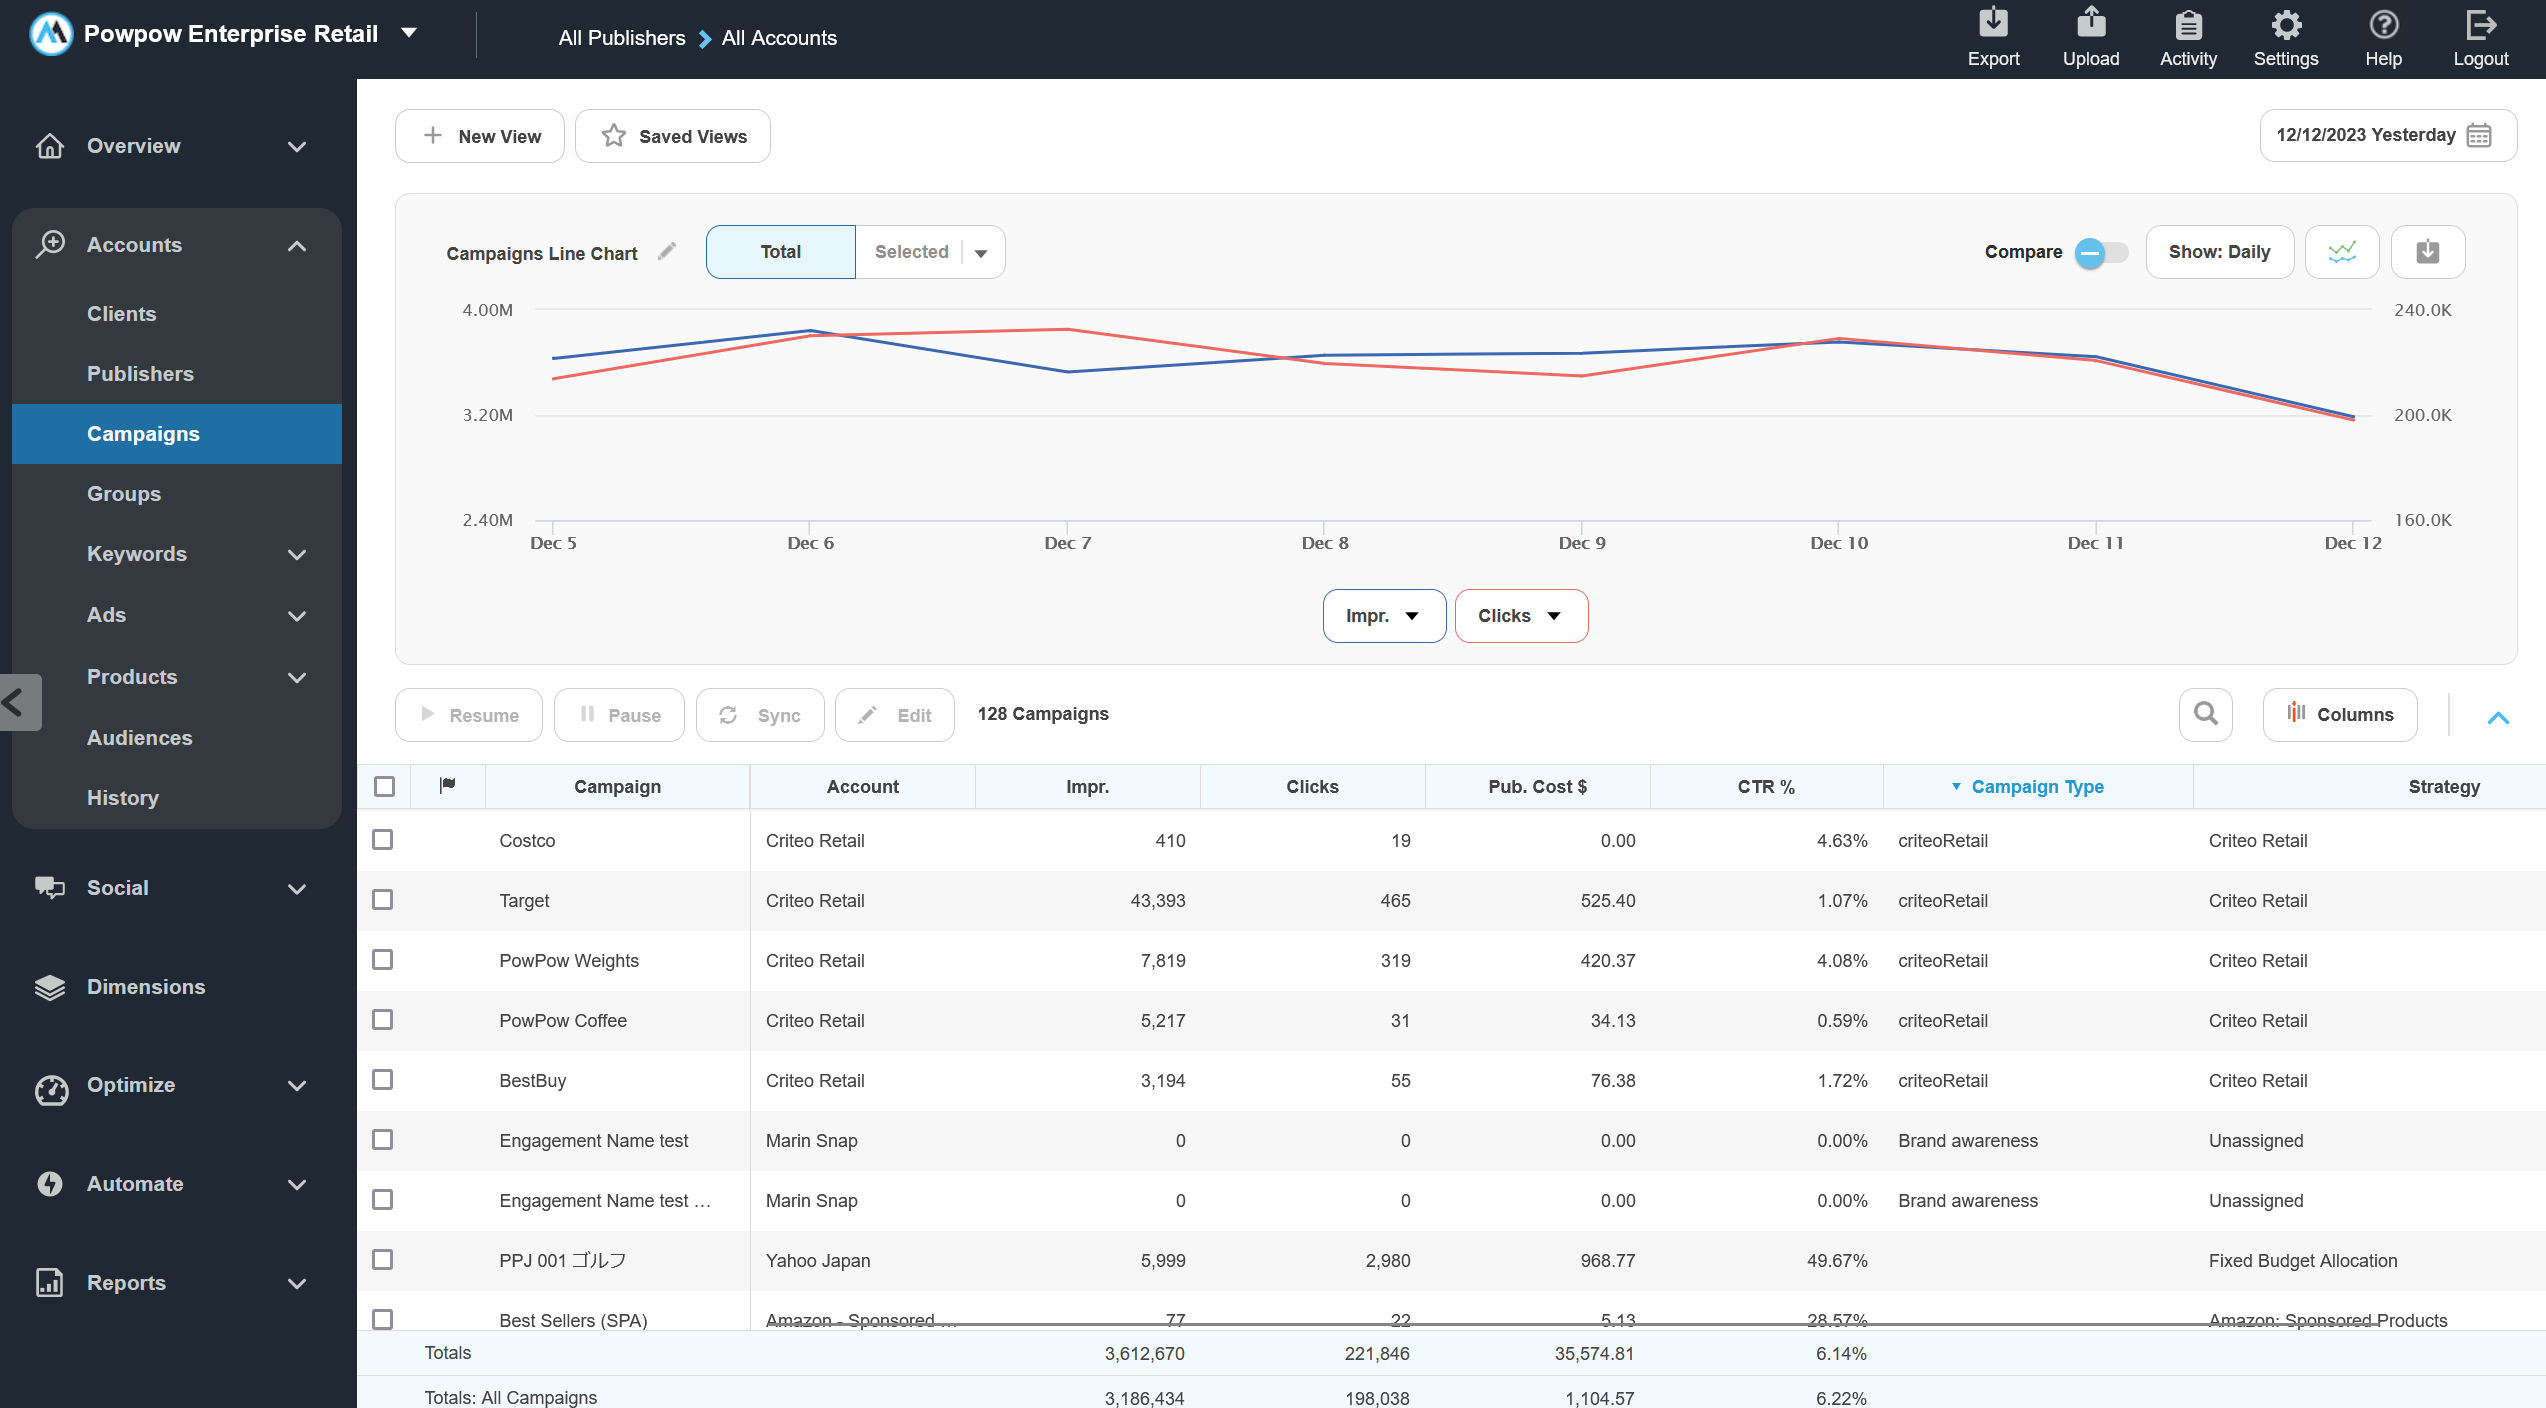
The grid is unique to Marin and allows you to effectively manage your campaign data all in one place. The best part? You can completely customize the grid to meet your needs with filtering, sorting, and full date range control.
Column Selector (View Builder)
The grid allows you to view your most important metrics at a glance. Let’s say it’s important to you that you see Conversion Revenue and Clicks metrics across your campaigns on a daily basis. Or, how about keyword metrics like Average Position or Cost Per Click? No problem. Simply select from the Column Selector (formerly known as the View Builder).
Want to learn more about the Column Selector in Marin? Check out our dedicated article.
In Marin
- First, navigate to the relevant grid that contains the data you'd like to view. For example, the main Campaigns grid.
- In the upper-right corner of the grid, click the Column Selector button to display the overlay. You can use the Column Selector anytime without navigating away from the screen you're on.
- At this point, the ball is very much in your court. You can click into the categories on the left of the Column Selector to find the specific column header you'd like to add to the grid. You can then choose whether you'd like to add the main column (under "Act." for "Actual"), the change column ('Delta' triangle icon), or the percent change column ('Delta' triangle icon with a percent sign).
- Finally, you can click and drag any column in the chooser to rearrange the order of the columns in the grid. You can also click the trash can icon next to any column to remove it from the grid.
- Once you've set up the Column Selector as you'd like it, simply click Apply. The grid will be refreshed and you should see your columns set up in the precise order you selected. From here, you can add filters, sorting options, and more.
Filtering
The grid also comes with numerous filter options making data analysis easy.
Filter by dates, publishers, keyword status, and more. Want to learn more about filtering in Marin? Check out our dedicated article.
- Click on the Filter button ('funnel' icon) in the column header, next to the column name.
If you don't see the Filter icon, hover over the column name until it becomes visible.
- Then, from the drop-down, select the type of filter you'd like to apply. In steps 3 - 6 below, we'll go over the types of columns that are available along with the filters options that exist for each.
- Some types of columns allow you to select one or more possible value, so if you'd like to look at both Google and Microsoft data, simply apply your filter accordingly.
- Once you've selected the type of filter you'd like to apply using the drop-down, you can apply your specific filter criteria simply by typing it into the available text box.
- After typing in your filter criteria, simply hit Enter or Return on your keyword to apply your filter. You can also apply your filter by clicking on the Plus sign ('+' icon) in the bottom-right corner of the text box.
You will see all active filters at the bottom of your filter panel in blue.
- When you're ready, click Apply to add your filters to the applicable column.
