Introduction
As with a Facebook Media Plan, you will need to choose an objective for your different campaigns. This choice will directly impact the Media Plan Main KPI measured by the platform.
Note: Go through the Media Plan creation process carefully as you will be choosing key elements for campaign success (notes, auto-pause limits, optimization dashboard set-up, etc.).
Step-By-Step
To create a new Twitter media plan, just follow these steps:
- In the top left-hand corner, click on the + New.
- Select Media Plan Twitter from the dropdown menu.

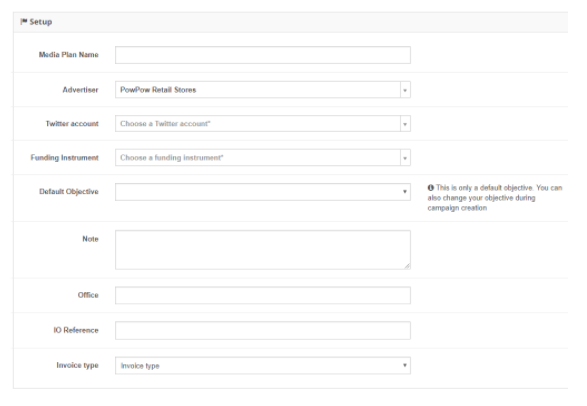
- In the Setup section, give your Media Plan name.
- Select the Advertiser and the Twitter account attached to the Media Plan.
- In the Funding Instrument section, choose the credit line that will be used for campaigns.
- Select your Default Objective and fill out any of the remaining fields.
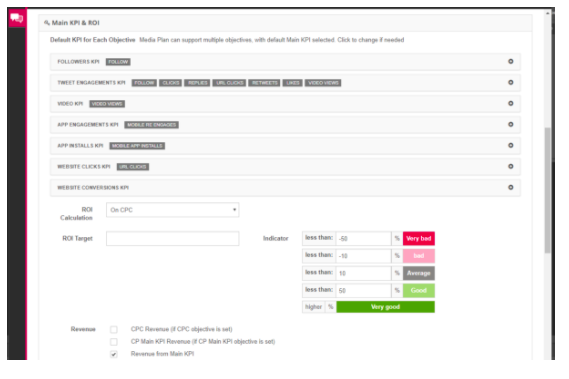
- In the Main KPI & ROI section, select your main KPI and define your ROI parameters. The main KPI will be chosen for you based on the Objective. You can manage your dashboard columns by adding more KPIs.
- If you are using Twitter webcards, use the URL tracking settings to add macros to your redirect URL.

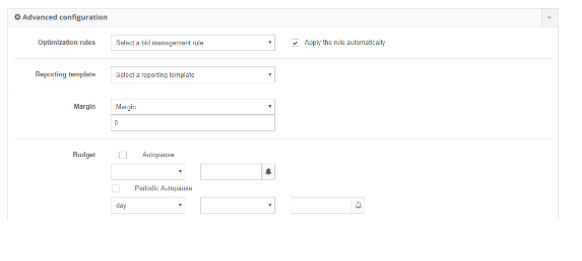
- In the Advanced Configuration section, you can optionally:
- Apply optimization rules.
- Apply a reporting template.
- Get budget from paused ad sets allocated to active.
- Add your margin fees.
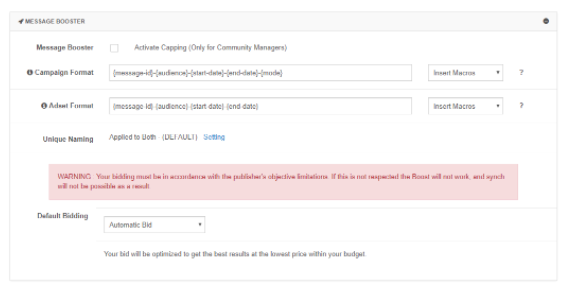
- If you are using Message Booster, fill out the Message Booster section.
- Next, you have the option to customize your Naming Conventions.
Note: Twitter campaign names have a limit of 255 characters.If you have more than two macros used for the naming convention, the name might surpass this limit and, as a result, your campaign may not synchronize properly.
If you receive an error message, ask an Admin on your account to check the parameters for Media Plan in which your campaigns have been created.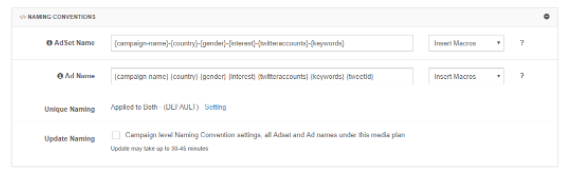
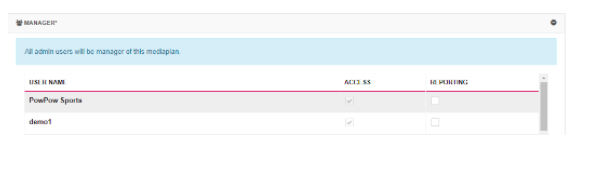
- In the Manager section, you can assign additional Reporting Users.