Introduction
With the Mass Editor, you can make changes in bulk to ads that have already been created, even if they are in different campaigns. This is an extremely useful tool because it lets you change elements of your running ads, such as title, body, URL, targeting, etc.
Step-By-Step
Using the Mass Editor is easy. In the following steps, we'll show you how to open a campaign using the Mass Editor:
- Open the Media Plan dashboard.
- Select one or multiple campaigns.
- Click on the Edit ads ('pencil') icon. Note: When editing a post created via the Bulk Creator, a new post is created.
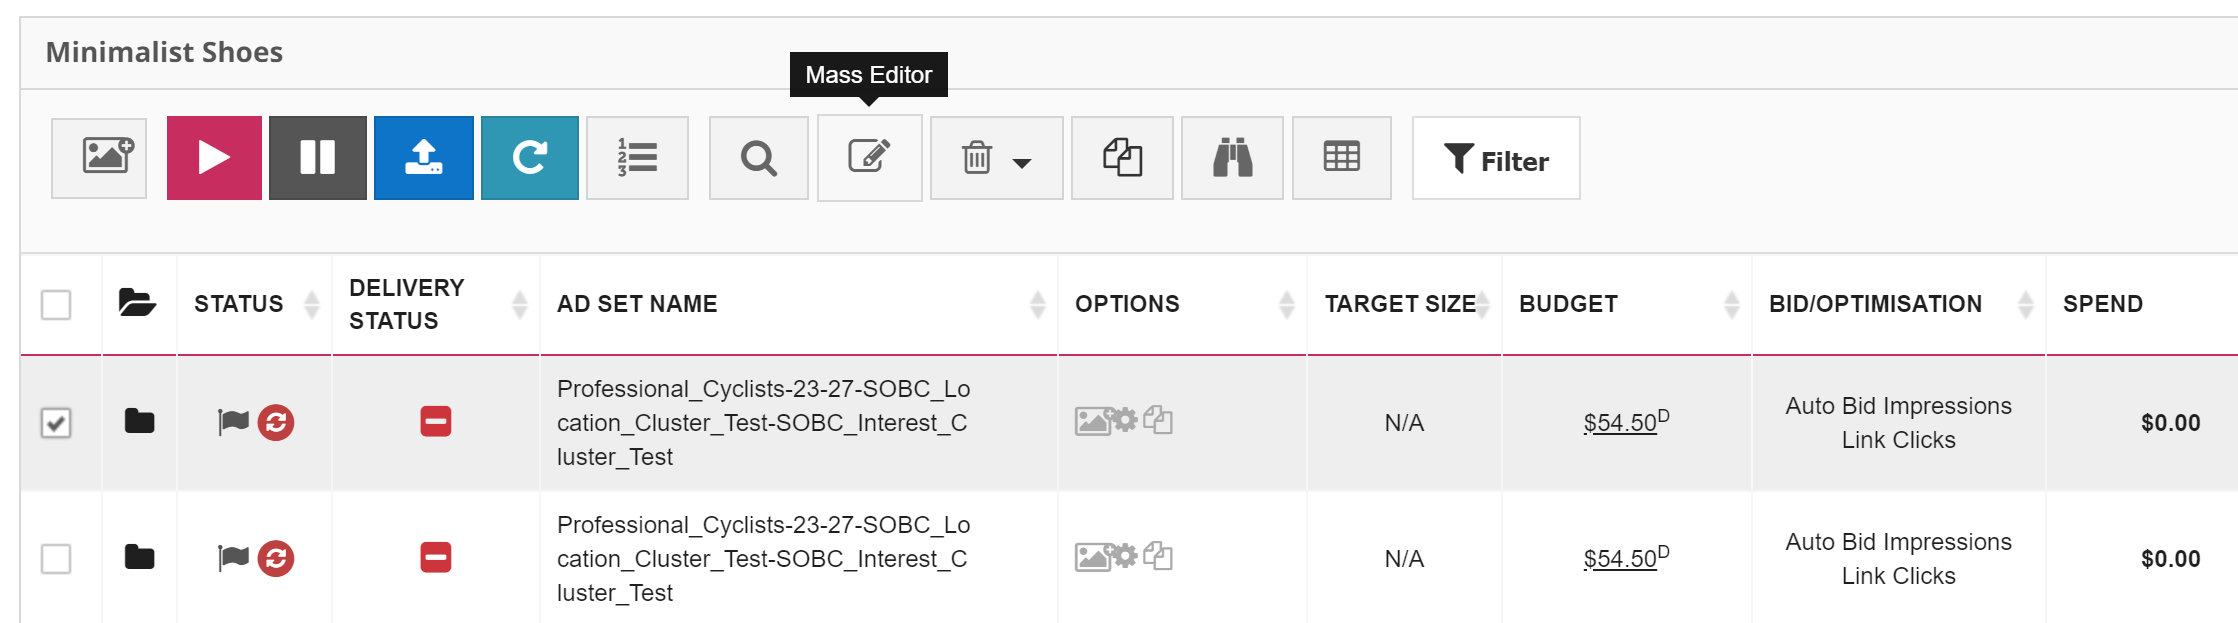
- This will open the Mass Editor tool. The dashboard is divided into two major sections: Creative and Target.
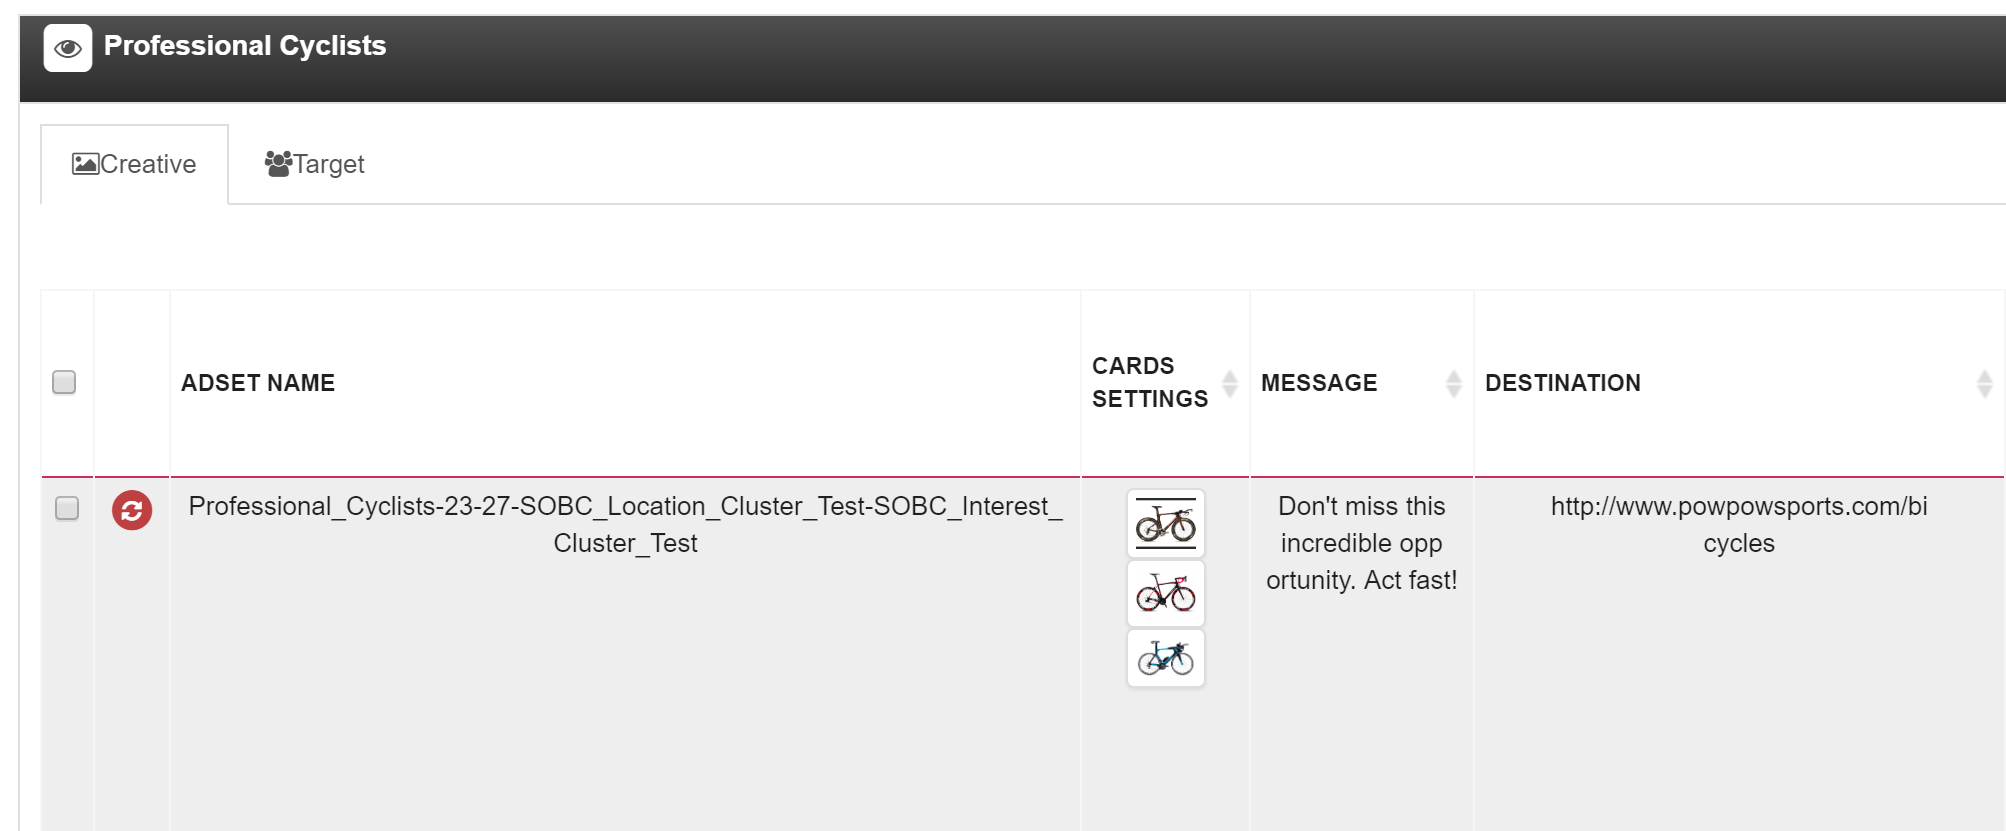
The Creative Tab
In the Creative section, you can modify the titles, bodies and other creative elements of an ad, or multiple ads at once (by selecting two or more ads).
To modify an element of one of the ads, simply click on the text in the respective column. For example, you can click on the text in the Message column to modify the message.
-
Ad - Selected - All - Cancel: If you want to modify an element of just one ad, click on the Ad button, then click on Selected to modify more than one ad (you need to select the ads that you want to modify beforehand). If you want that the change applies to all the ads in this campaign, click on All. If you changed your mind and don’t want to apply the change to any of your ads, simply click on Cancel.

- You can change any element of the creative section (body, URL, etc.) following this same process.
The Target Tab
In the Target tab, you will find 4 sub-sections:
- Demographics & Locations
- Detailed Targeting
- Custom Audience & Connection
- More Targeting
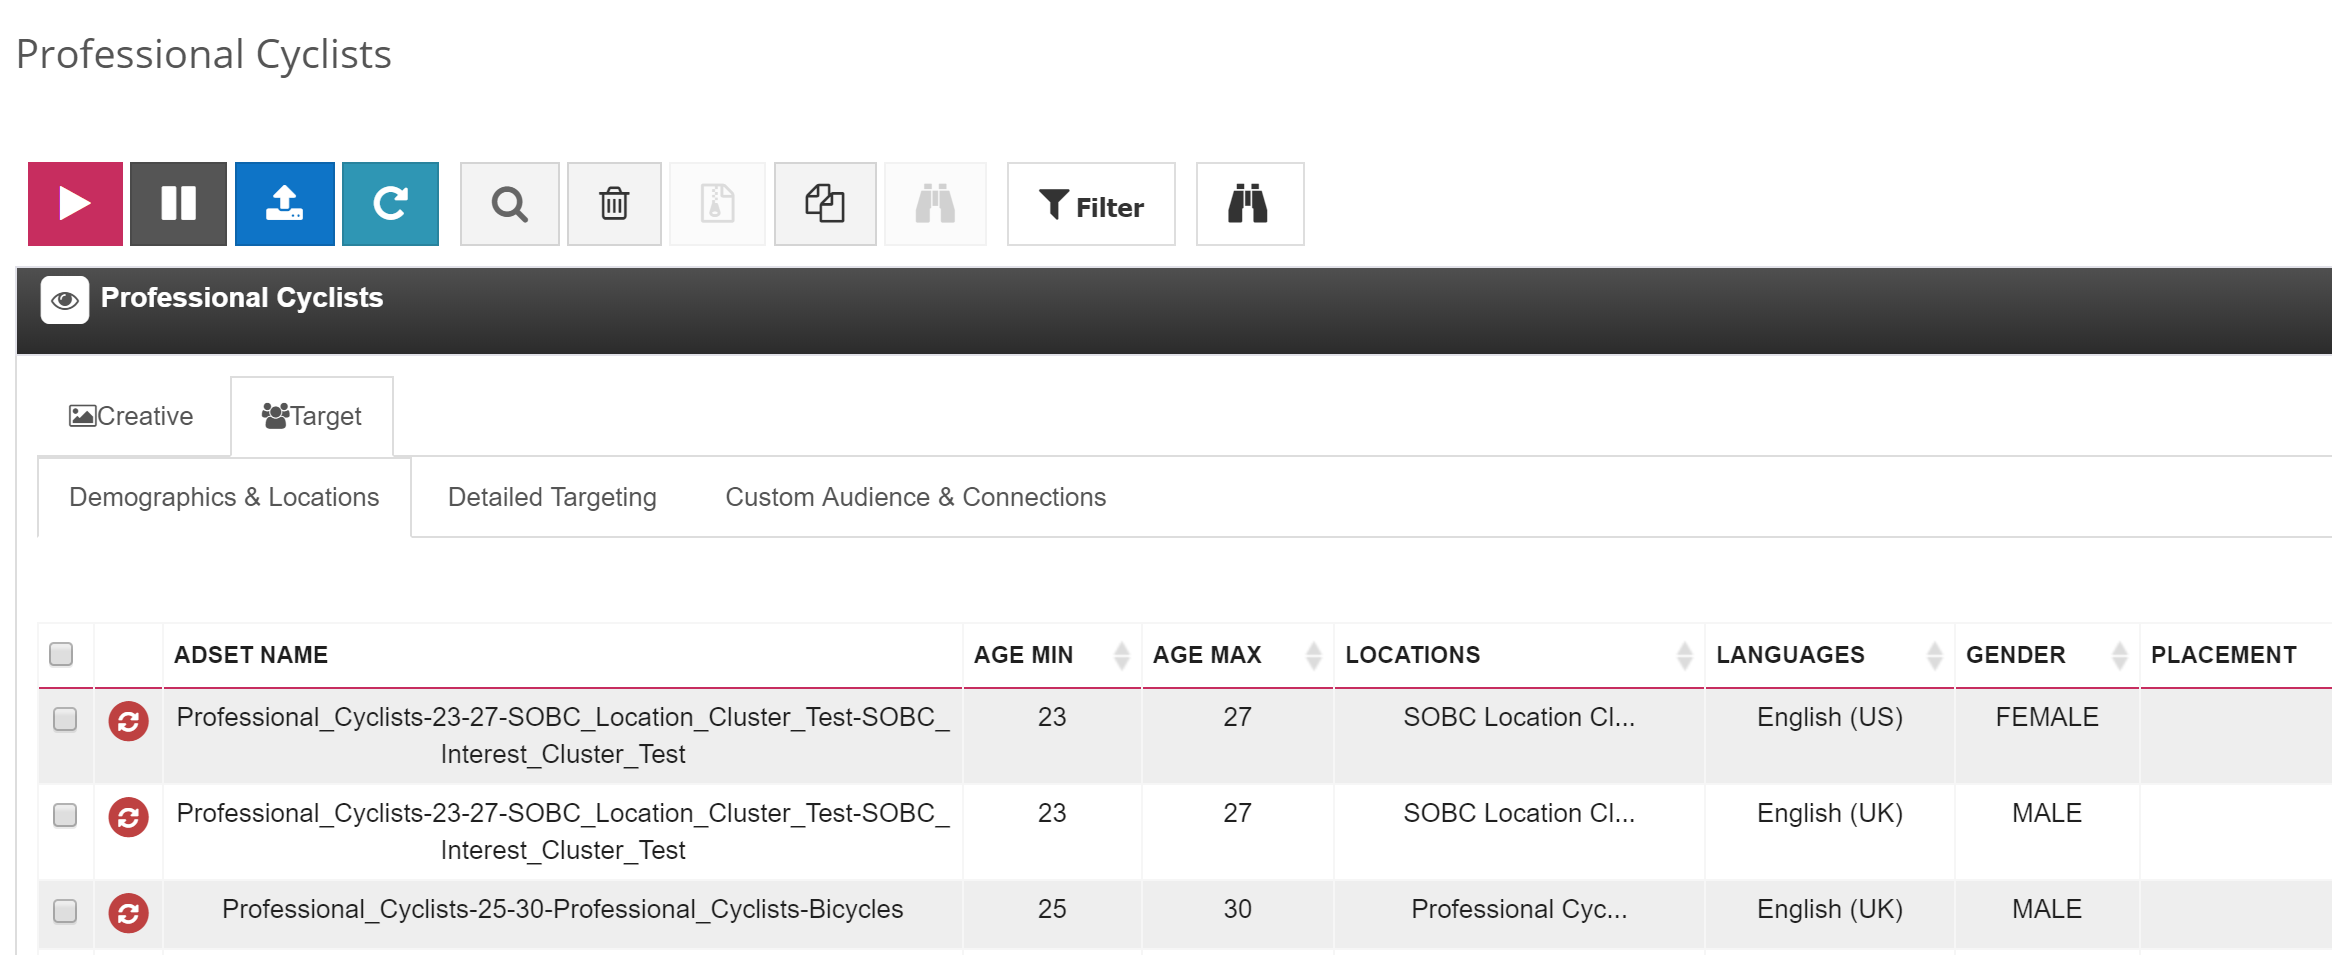
Demographics & Locations
In the Demographics & Locations section, you can edit targeting criteria including age, location, language, gender, relationship status, OS and placement.
To change the placement of your ads:
- Select one or multiple ads and click on the Placement of one of the ads.
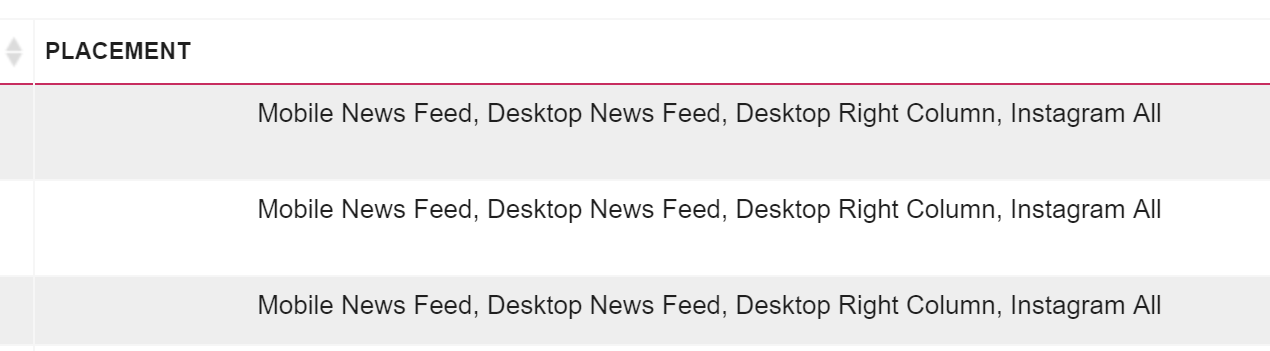
- Select another Placement and click on the Selected button to apply the changes to the ads you have previously chosen.
Detailed Targeting
The Detailed Targeting section lets you change the interest clusters, include or exclude custom audiences, etc.
To change the interest keywords of all your ads: Click on Interests (Precise & Category), and when you are happy with the changes, apply them to all of your ads by clicking on the All button.
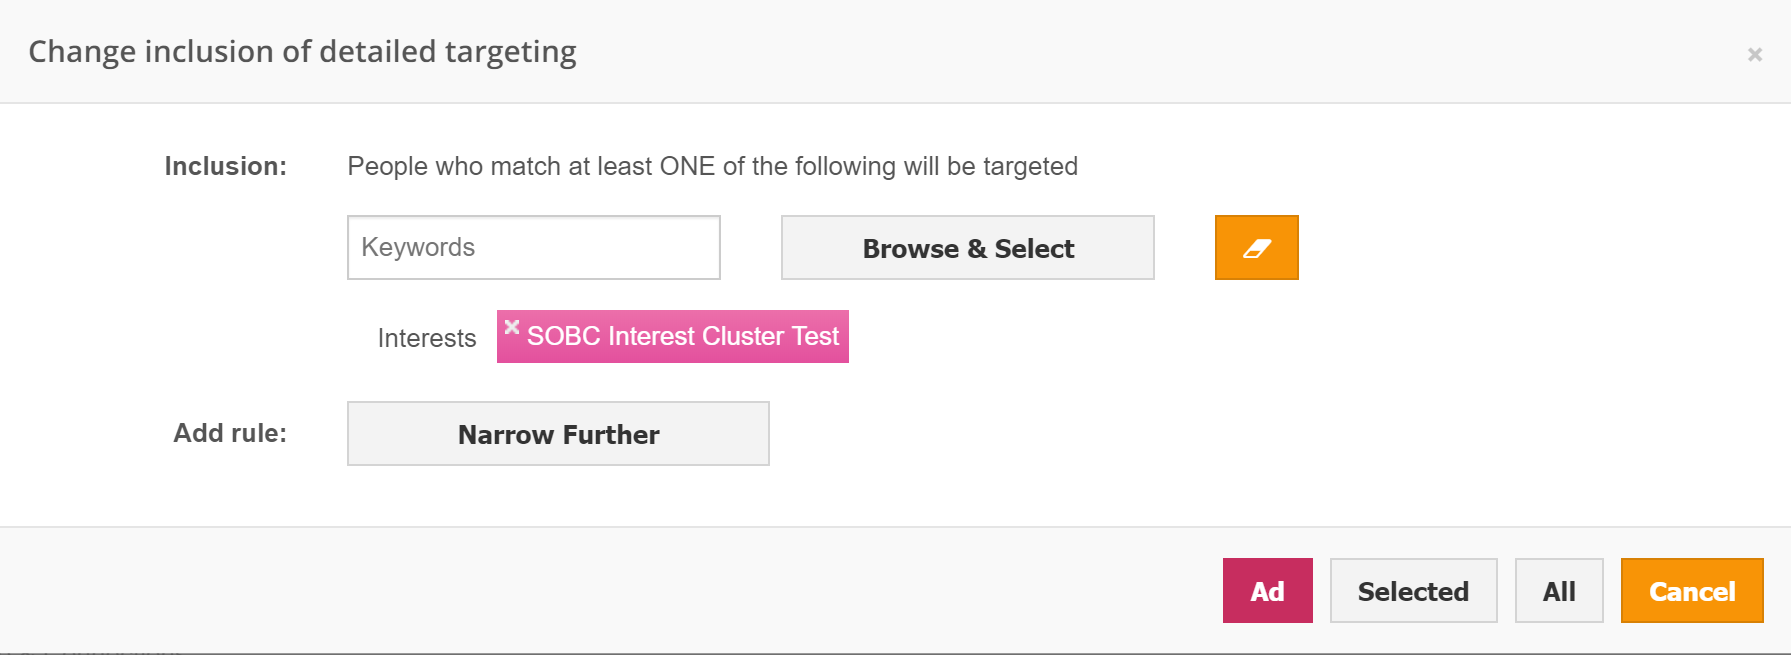
Ad - Selected - All - Cancel
If you want to modify an element of just one ad, click on the Ad button, then click on Selected to modify more than one ad (you need to select the ads that you want to modify beforehand). If you want that the change applies to all the ads in this campaign, click on All. If you changed your mind and don’t want to apply the change to any of your ads, simply click on Cancel.
Custom Audiences And Connections
In the More Demographics section, you can find and modify any Facebook behaviors that your ads are targeting.

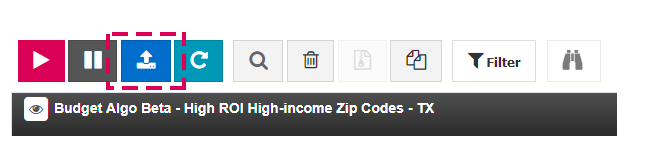
Note: Don’t forget to re-synchronize your ads after applying any changes, directly from the Mass Editor or from the Media Plan dashboard by clicking on the blue Sync to the Publisher button.
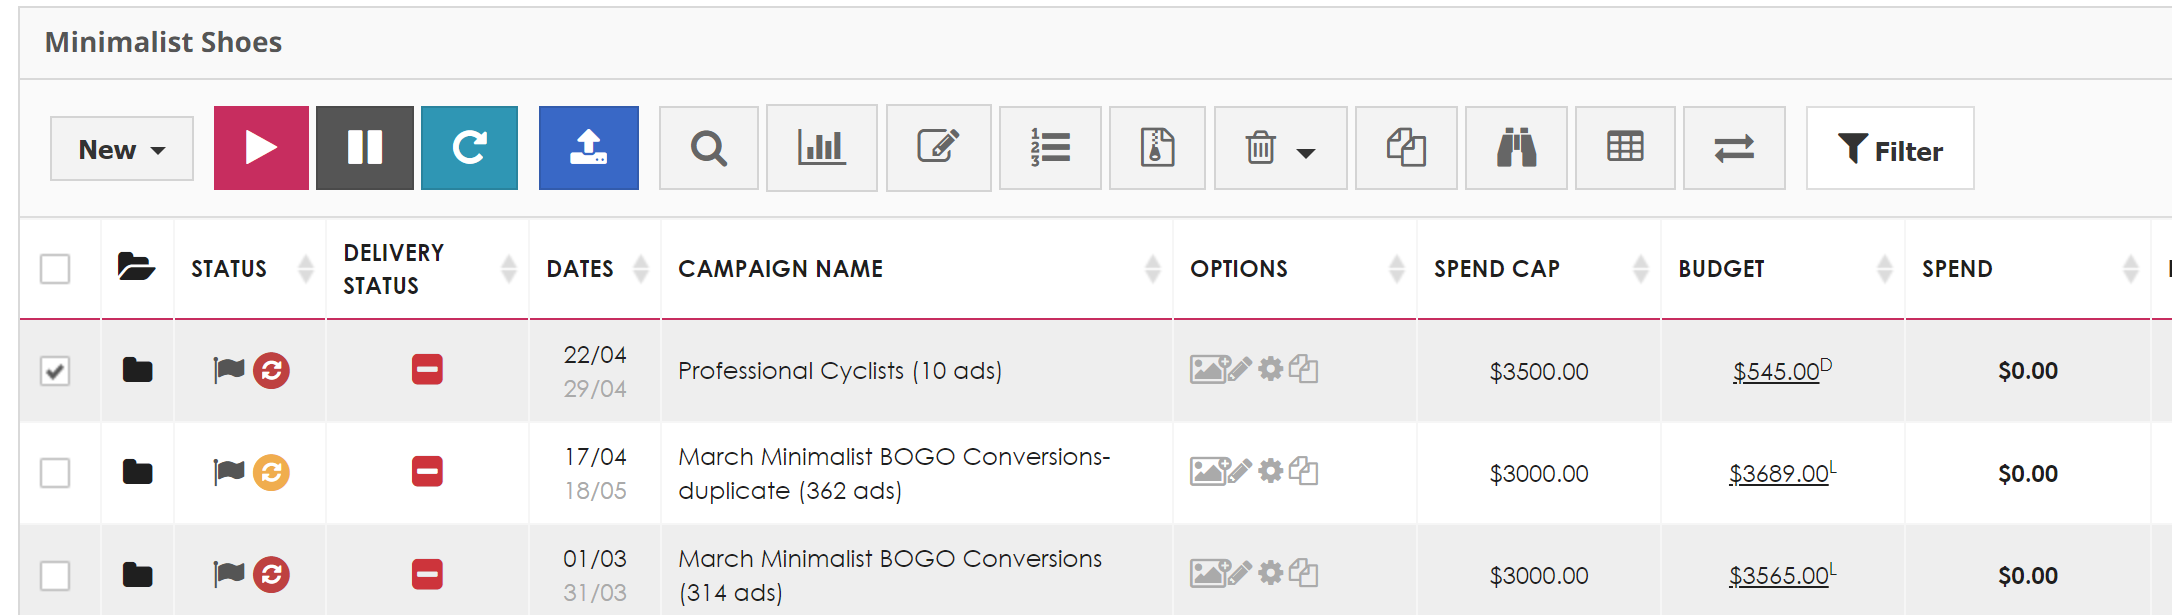
Changing Start And End Dates
Start and end dates can be changed from the main Campaigns grid. Just use the Dates column and click into the relevant campaign to make your changes.
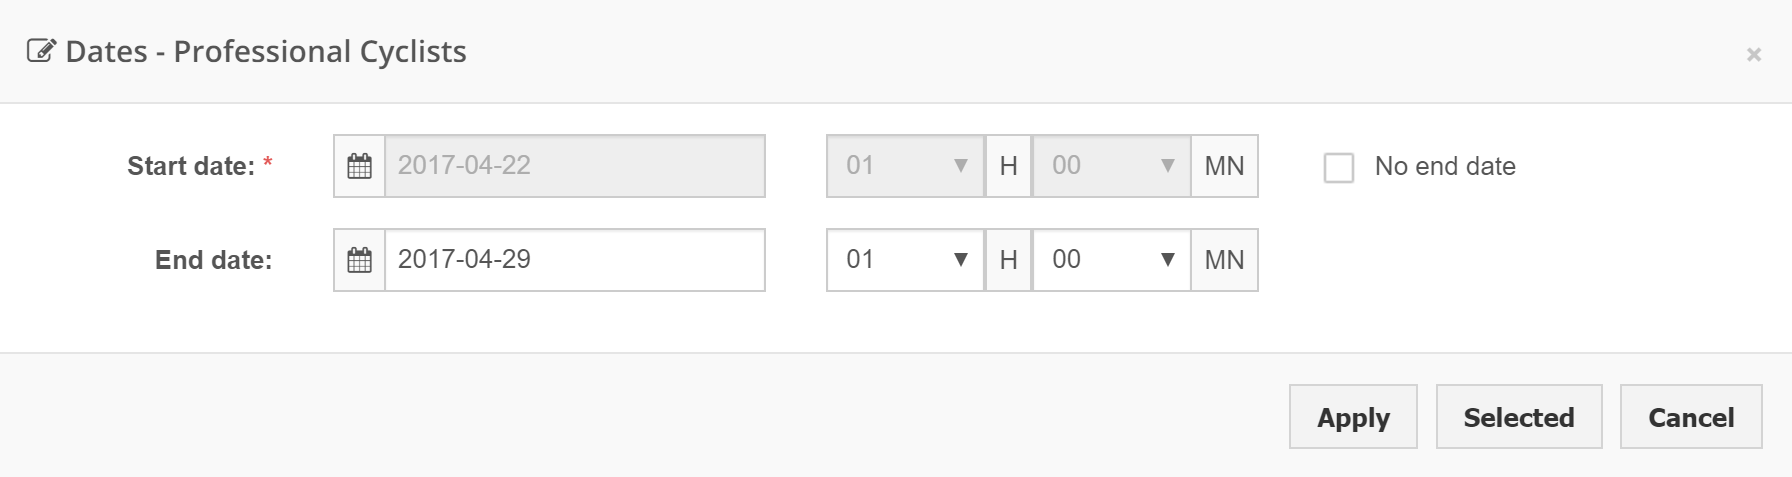
Please bear in mind the following restrictions:
- Start date can be changed for only scheduled campaigns that are not synced to Facebook and do not yet have statistics.
- End date needs to be provided for campaigns with lifetime budgets.
Editing Bulk Page Post Ads In The Mass Editor
You can change the assigned Facebook Page for Bulk Page Post Ads in just a few clicks using the Mass Editor. To do this, follow these steps:
- Enter the Marin Social Mass Editor in the normal way.
- Click into the Creative tab.
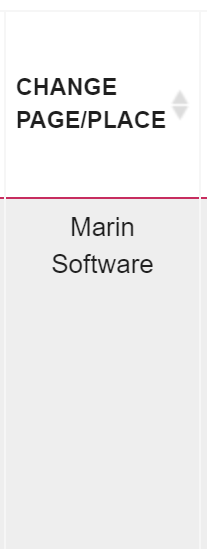
- You'll see a column called Change Page / Place. Click any entry within this column to bring up a pop-up pane where you can make your changes.
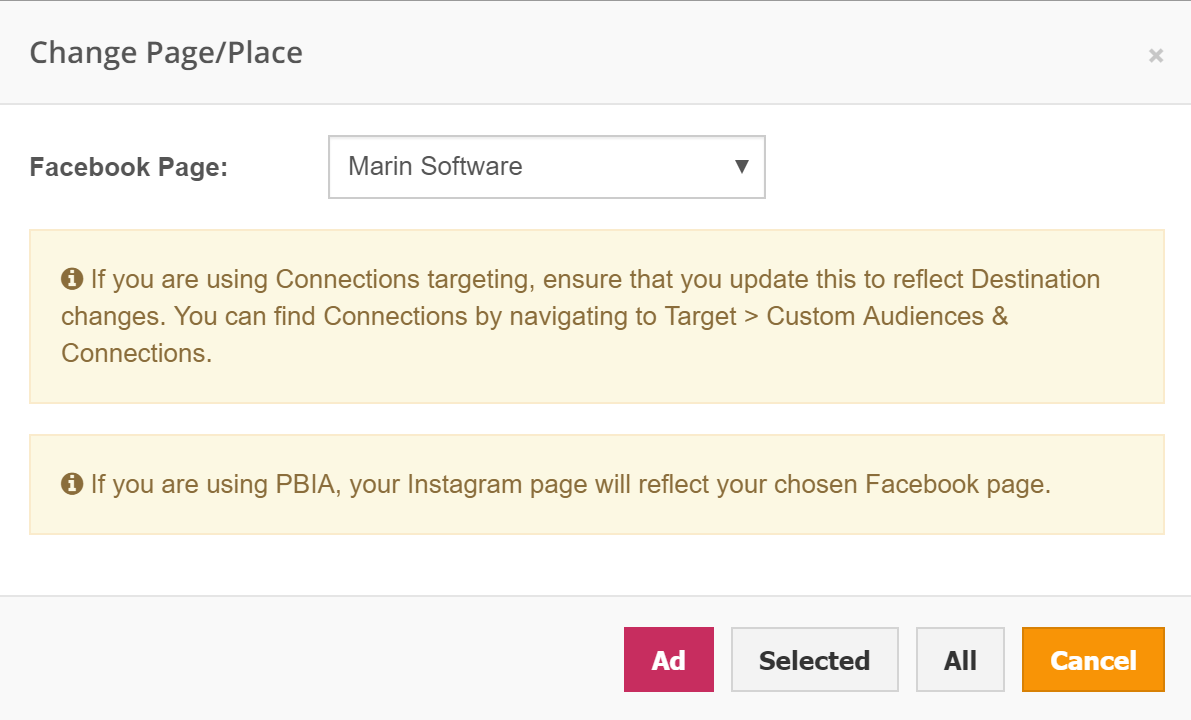
- Once you've made the changes to your Facebook page, sync your ads as normal and the Page updates will be sent to Facebook.
Please bear in mind the following notes when changing Bulk Page Post Ads in this way:
- If you are using Connections targeting, be sure to update your targeting to be aligned with the new Page you've selected for these ads. This is because, if you've chosen to exclude fans of the original Page, you may be inadvertently excluding valid users.
- If you use PBIA (Page Backed Instagram Account), Marin Social will auto-update this on your behalf.
- The ability to change the Page for a Bulk Page Post is only available for Conversion, Outside Traffic, and App Install objectives.
Editing Page Post Ads In The Mass Editor
You can also edit the Page you use with your Page Post Ads individually in Marin Social.
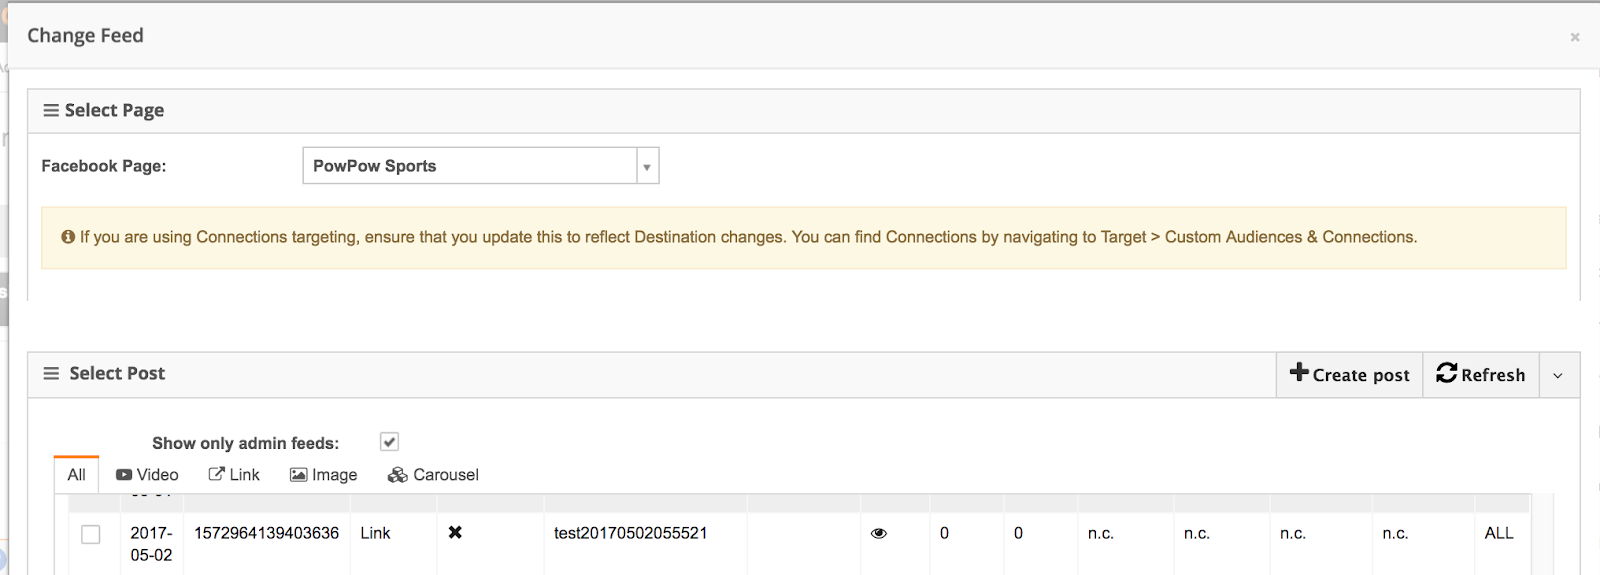
To do this from within the Mass Editor, simply click on the Post ID of the post you'd like to change the Page for, then you should see a pop-up screen called Change Feed. By default, the Page being used with the current ad will be selected. In the Select Page section, you'll see the Facebook Page drop-down box, which you can use to select a different Facebook Page. You'll then be able to choose any Page to which you have access, and use any Post from that Page for the ad.
Please bear in mind the following notes when editing Page Post Ads in this way:
- If you are using Connections targeting, be sure to update your targeting to be aligned with the new Page you've selected for these ads. This is because, if you've chosen to exclude fans of the original Page, you may be inadvertently excluding valid users.
- The ability to change the Page for a post is only available for Conversion and Outside Traffic objectives.