Message Booster helps you save time and streamlines Community Management (CM) processes by automating the boosting of your organic content.
To access the Marin Message Booster, please reach out to your Marin account representative or our Customer Support team.
Note: This article is about the Message Booster feature in Marin. For details about the Marin Social Message Booster feature for Facebook or Twitter, check out our dedicated article. Please note that BOTH the Marin and Marin Social versions of Message Booster can be used simultaneously.
Benefits
Message Booster provides the following key features:
- Fast and simple interface
- Community engagement data & insights
- Management of several pages/accounts from a single interface
- Budget capping and other security safeguards
- Audience management with pre-programming
- Automated content promotion (“auto-boost”) rules
Additionally, Message Booster has been specifically tailored to answer the following needs:
- Externalizing CM tasks (in-house advertisers and/or agencies)
- Adding a layer of security to media budgets managed externally
- Media buying for non-experts and small budgets (great for SMB)
- Automating content promotion based on engagement stats
- Improving average engagement performance
In short, based on metrics you care about, Message Booster allows you to automate the transformation of organic content into paid ads that will be delivered to an audience and for a duration you’ve chosen and with a budget you’ve set.
Structure
The structure of a Message Booster campaign is as follows:
- Each rule creates a campaign
- Each post boosted by a rule creates a new ad set and a new ad within this ad set
There are two types of budget available to you:
- Daily Budget per rule: This budget sits at the campaign level.
- Fixed Budget per post: This is Lifetime Budget and is managed at the ad set level.
Currently, only Instagram is available in the Marin Message Booster. We will add support for Facebook in the near future.
Setup
The first step to using Message Booster is the activation and setup process. We'll talk through these steps in more detail in this section.
+ Read More
Client Account
First, you will need to create a Client Account, if you haven't already.
Publisher Linking
Second, you need to link your Facebook publisher account to Marin.
To do this, you'll need to navigate to Facebook and make certain you have the highest level of permissions on the following:
- The Facebook ad account: Navigate to your Facebook Business Manager, click Business Settings, Select Ad Accounts, then choose People. You can also follow the step-by-step guide here.
- The Instagram account: Navigate to your Facebook Business Manager, click Business Settings, choose Instagram Accounts, then select People.
- The Facebook page: You can follow the step-by-step instructions listed here.
Once you've verified the above, you can link your Facebook ad account to Marin by following the step-by-step instructions listed here.
Additionally, the Instagram account must be connected to the Facebook page. You can find step-by-step instructions here.
For more information, take a look at the Facebook Help Center here.
Media Plan Creation
Third, you will need to create a dedicated media plan that will harbor all your Message Booster campaigns. You can learn more about this process here.
Audience Targeting Creation
The last step is to create the audiences used for your boost targeting. You can find the step-by-step instructions here.
Activation
Once you've set up a Client Account, a Publisher, and a Media Plan, you'll be able to get started with the Activation step.
+ Read More
The first step, as always, is to log into Marin.
Once you're logged in, navigate to the Social module in the left-hand navigation.
From here, click on the Message Booster Tab. By default, you will land on the Posts sub-tab.
Select the Media Plan for which you wish to create Message Booster campaigns.
Click on the + button ('plus sign' icon) and select one or several Instagram accounts and allow Message Booster to scan the available organic posts you can choose from. Then click Apply.
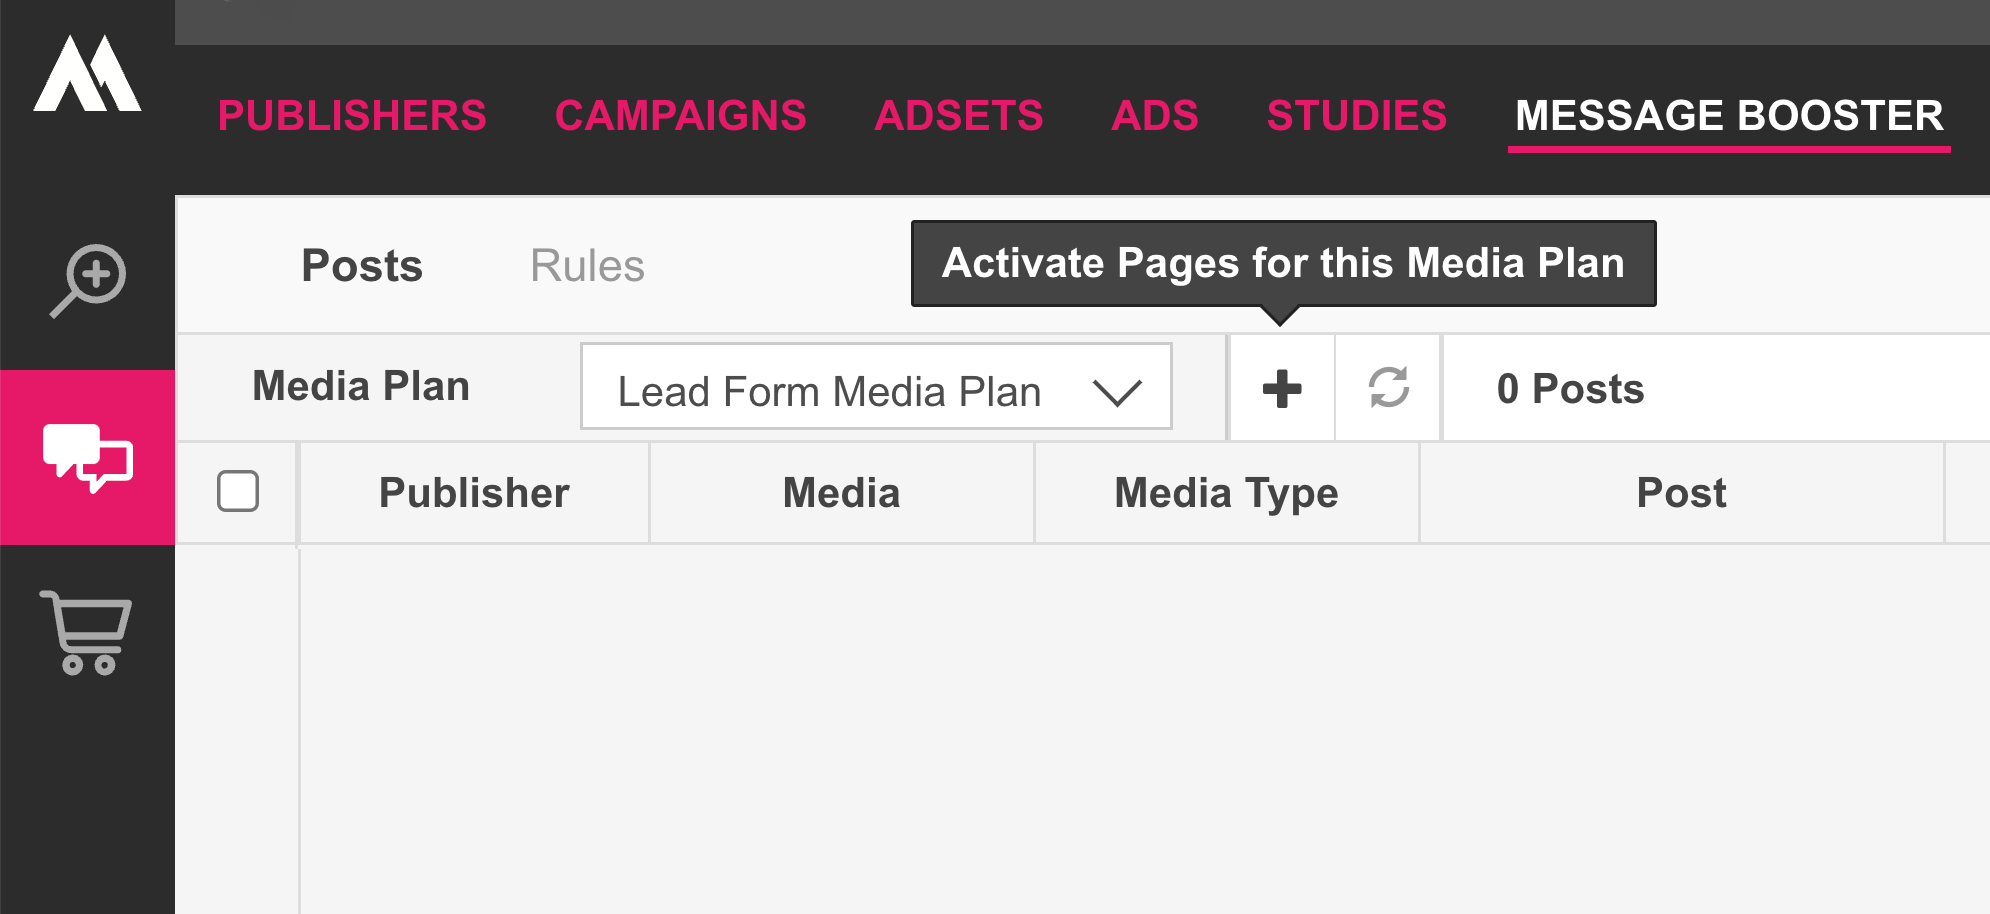
You will receive a notification that the Pages have been activated and posts will be displayed in the grid shortly.
Once the posts are loaded, the grid will display key info and metrics by default, such as the name of the Instagram account (under the Page column), the type of creative (image or video), the number of comments, and engagement.
Important Notes
At the current time, the Published column is only populated for Facebook posts.
You can only use Instagram feed posts with one single photo or video. Currently, Facebook does not allow creating Instagram ads from Carousel posts, Stories, IGTV, and Reels.
Only Instagram and Facebook posts that Facebook allows to boost will show on the Posts tab.
The list of posts will be automatically refreshed every four hours. If a new post was created less than four hours ago and it is not displayed in the grid yet, manually refresh the list of posts by clicking on the Refresh button. It will refresh the list of posts for all the pages activated under a media plan.
Boosting Rule Setup
Message Booster Rules allow you to automate the promotion of organic posts based on post configuration and metrics you care about. Follow the steps below to create a new rule.
+ Read More
- First, navigate to the Message Booster tab.
- Then, click on the Rule sub-tab.
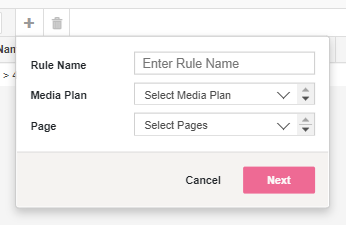
- Click on the + button ('plus sign' icon).
- Enter a Rule Name and select the Media Plan you wish campaigns to be created within.
- Then, select one or several pages to scan posts from.
- From there, click Create.
- Once you've created your rule, the Side Panel open automatically. Fill in all fields in the Rule Settings sub-tab.
All fields are mandatory except for the Caps options. - When you're finished, click Next.
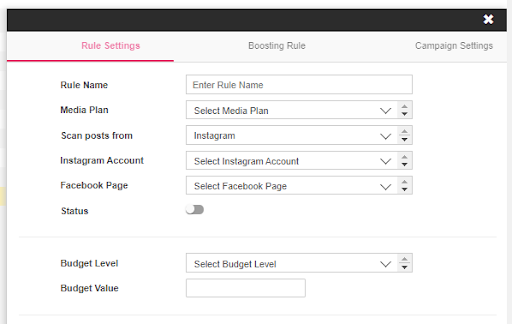
Note: The Instagram account and the Facebook page will be used to redirect users in-app when they click on your business name. The CBO (Facebook Campaign Budget Optimizer) cannot be used when the Fixed budget per post option is selected. - The Caps options allow you to set a spending limit for a rule. This is the equivalent of the Campaign Spending Limit.

- Click Next to navigate to the Boosting Rulesub-tab and fill in all of the available fields.
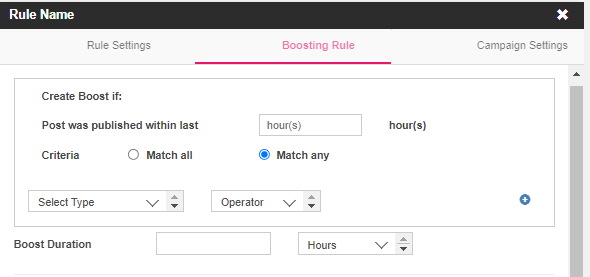
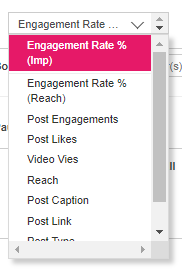
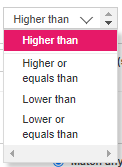
Note: If you have selected a Daily Budget, Facebook won't allow you to boost a post for less than 24 hours. However, this is allowed with a lifetime budget. In the rule settings, use the option Fixed Budget per post to switch to a Lifetime Budget. - Here are a few things to keep in mind:
- Rule conditions are case-sensitive.
- You can activate as many rules simultaneously as you need, however, please ensure they don't conflict with one another for best results.
- A rule cannot boost a post more than once, however, different rules can boost the same post.
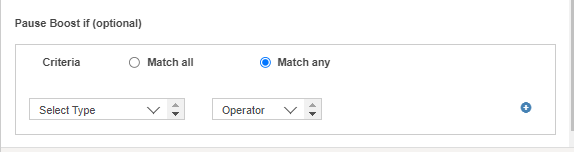
- You have the option to pause a Boost if its performance does not meet your criteria. Only the ad set with the under-performing post will be paused. The campaign and any other running ad sets will remain live.
- Click Next to navigate to the Campaigns Settings sub-tab and fill in all available fields.
Note: If you haven’t yet created your Message Booster audience, click on e Manager. From here you can also edit and delete audiences. Only audiences with one target will be available to select in Message Booster. - Once all fields have been filled in, click Apply to save your changes.
Editing Rules
A rule can be edited after its creation simply by following the steps below.
+ Read More
- First, double-click on the rule you would like to edit.
- The Side Panel will open up. You can edit any fields except for:
- The Media Plan
- The Facebook Page or Instagram Account
- The Campaign objective
- The Bidding Strategy
- The Budget Type
- Finally, click Apply.
Important Notes
- All fields are mandatory except for the Caps section.
- When edits are made to the Budget settings, your change is only applied to future boosts.
Duplicating Rules
A rule can be copied by following the steps below.
+ Read More
- The first step, as always, is to log into Marin.
- Next, click on Message Booster in the top navigation.

- From there, select the Rules sub-tab. By default, you will land on the Posts sub-tab, so be sure you don't skip this step.
- Click the check-box next to the rule you would like to duplicate, then click the Copy rule button ('two sheets of paper' icon).

- In the next step, you'll have an opportunity to update your copied rule's name, client, and media plan.
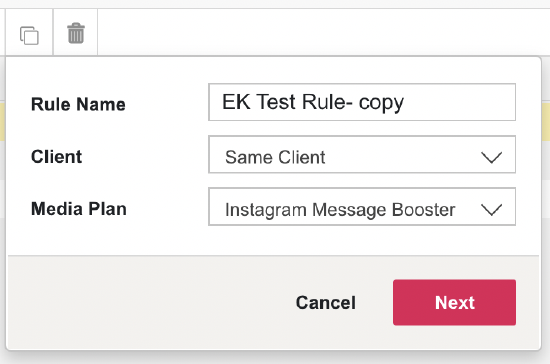
- Once you're ready, click Next.
- This will launch the Side Panel, where you'll have an opportunity to update rule settings, boosts, and campaign settings. To learn more about the available options in these sections, we recommend reviewing the Setup, Activation, and Boosting Rule Setup sections of this article.
- When you're ready to save your changes, click Apply.
Deleting Rules
You can delete one or multiple rules at once by ticking the checkbox at the start of the rule row and pressing the Delete button ('trash can' icon) above the grid.
Coming Soon
Facebook post boosting in Marin. Currently, this is only available in Marin Social. Both versions of Message Booster can be used simultaneously.
Max Post Boosting Cap will introduce an optional cap that allows you to control the number of posts delivering at the same time. If the number of posts matching the criteria is greater than the cap, the service will pause the ad set with the oldest creation date to make room for the new boost.
History Logs that will detail the changes made to a rule setting.
History Logs that will detail the changes made by the rule, on campaigns, ad sets, and ads.
Additional Information
Here you can find a list of post types that Facebook does not allow you to boost.
