Introduction
The Audience Manager allows you to create new targeting options and view existing ones, according to the advertiser you have selected.
Setting Up A New Audience
You can set up a new Audience in a few simple steps, as follows:
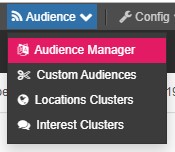
- To access, click on Audience in the black upper bar of the screen, and then click Audience Manager.
- Next, click Create Audience to access your Targeting settings.
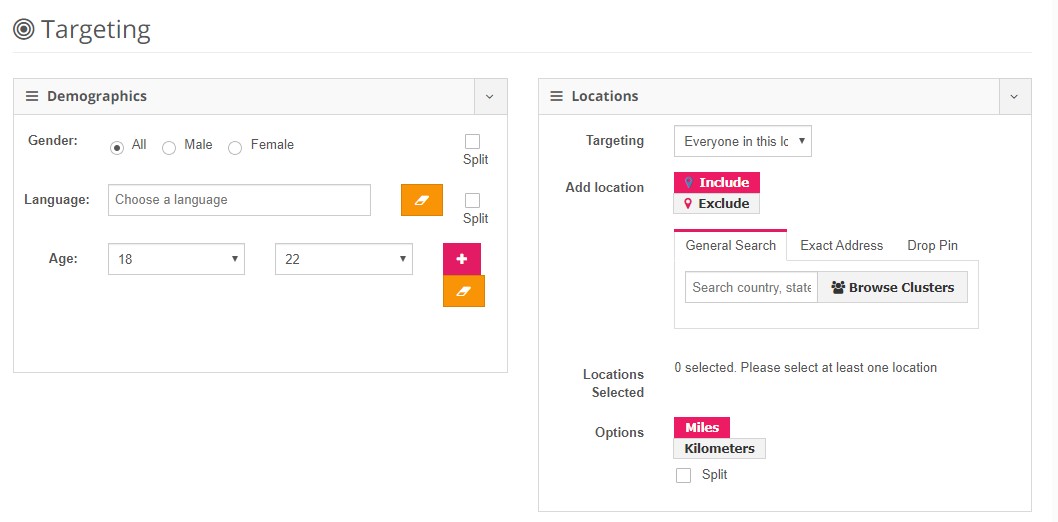
- Define your demographics, locations, behaviors, interests, device and placement. Note: You are not required to fill in all fields.
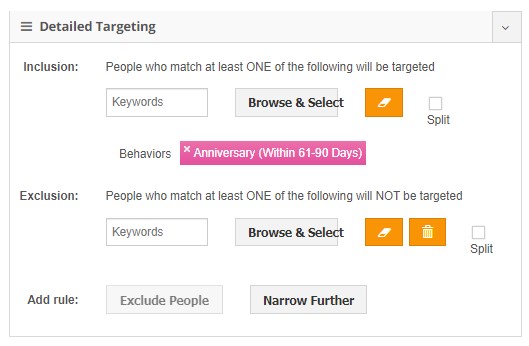
- Facebook allows you to select Behaviors, which are pre-populated categories according to specific user behaviors. These can be found under the Detailed Targeting section. Also in this section you can find Interests, Custom Audiences, and More Demographics.
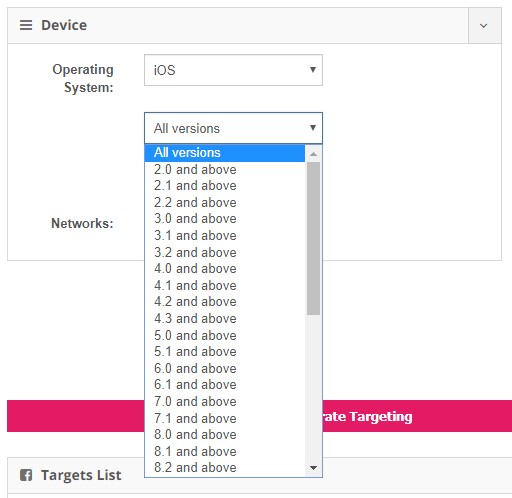
- You can target specific device versions, especially if you are advertising an app which is compatible only with specific versions of operating systems.
- Select the correct Placement according to the delivery and type of ads as part of your strategy. We recommend that you not use the All placements option.
Note: When creating a new audience, some of the Placements may be grayed out. This is expected behavior so that audiences can be used by all objectives. For example, you will not see Messenger listed as it can't be used for all objectives. - Once you have set all the options properly, click on Generate Targeting, and Save Audience. It will then appear within the Audience List and will be available when creating a new campaign.
Editing A Saved Audience
Once your Audience has been created, there are a variety of actions you can take by clicking on the icons next to your Audience name.

- Preview - shows a preview of your Audience name, location, and demographics
- Change Name - allows you to edit your Audience name
- Duplicate - allows you to create an identical audience, which you can then edit as needed
- Manage Audience - allows you to add targeting to an existing Audience or edit its settings without recreating it from scratch
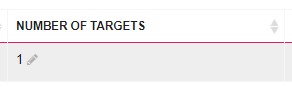
Under the Number of Targets column, you can edit your existing targets by clicking on the Edit button ('pencil' icon). You can edit the specific elements of a single target or you can edit multiple targets at once, similar to the Mass Editor.
Detailed Targeting: Interest Cluster
The Detailed Targeting section allows you to add Interest Clusters to help define your audience further. An Interest cluster is a group of keywords related to a particular interest. (e.g. you are selling online magazines and you may create an interest cluster including keywords related to magazines, newspapers, blogs…). When creating an Interest cluster ensure that the reach is big enough. In case it is not, you can edit interest clusters by adding (and deleting) keywords at any time.
- The Keywords bar allows you to enter one word at a time and check in real time if that word corresponds to an interest on Facebook. See below for an example of an Interest Cluster composed of keywords.

-
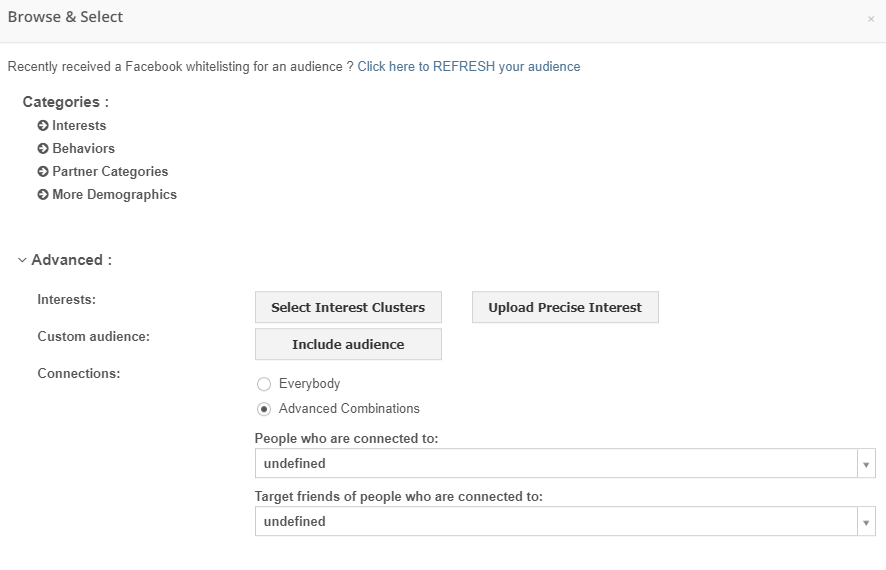
Include Audience /Exclude Audience allows you to target / exclude specific groups of customers based on custom audiences you have created.
- Note: If you want to target new users, we recommend to exclude existing users.
- We recommend selecting only one out of interest cluster, precise interest, interest category and behavior per campaign. This means you will be able to interpret the data more concisely.
For more options, click Browse & Select > Advanced.
- Select Interest Clusters allows you to select one of the clusters that are already within the clusters database.
- Upload Precise Interest allows you to upload a list of interests by using comma or semi colon as separators.
- Include Audience allows you to add existing audience criteria to your new audience.