Introduction
The User Manager section is where you can manage Marin Social platform user access. You are able to create, delete or disable platform logins.
In this article, we'll show you how easy it is to manage users in the Marin Social platform.
Roles
There are three different available roleswithin the Marin Social platform:
| Admin | Community Manager | User |
| Add users & edit user access | x | |
| Add accounts | x | |
| Add a Media Plan | x | |
| Access the Message Booster, create and boost posts | x | x |
| Access reporting | x | x |
| Create campaigns | x | x* |
*The user has very limited access and can create campaigns only for the Media Plan that they have been granted access to.
How To Create A New User
To create a new user with Marin Social, simply follow these steps:
- Within the User Manager, click Add new user.
- Next, complete the form with the following information:
- First name
- Last name
- Email (this will also be your username)
- Role
- Assign selection (all clients or specifics clients)
- Password
Note: By clicking on the Connect button, you will be able to use the platform in the name of the user selected.
Adjust Media Plan Access For Users
The Marin Social platform allows you to restrict access to specific Media Plans within your account. To change a user's access settings, you have two options:
- The Media Plan Parameters page
- The Manage Users page
The Manage Users Page
To adjust user settings via the Manage Users page, follow these simple steps:
- From the Config menu, select Users
- Find the desired user and click Edit
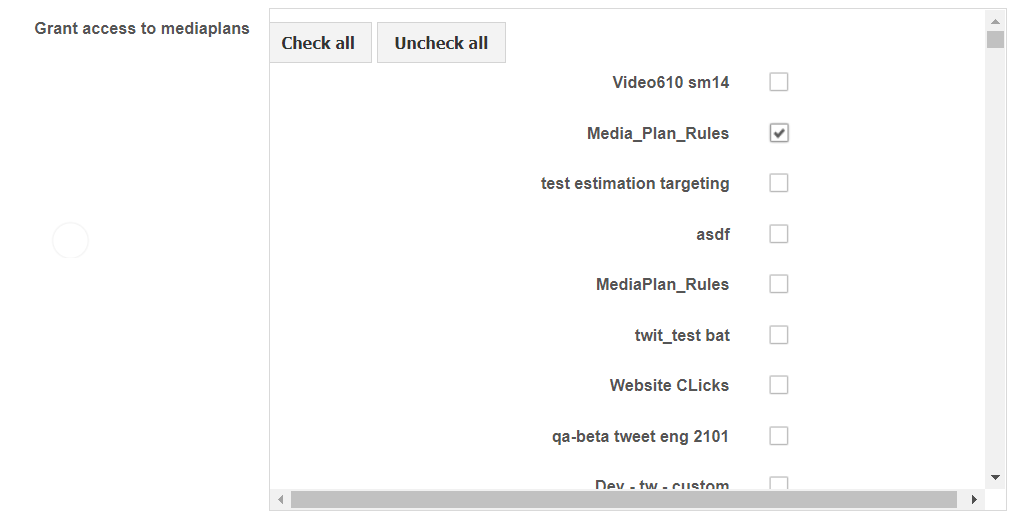
- Scroll to the Grant Access to Media Plans section and use the checkboxes to select which Media Plans you'd like the user to access, or choose from Check All or Uncheck All
- Click Save to complete the changes
Media Plan Parameters Page
To adjust user access to a Media Plan via the Media Plan Parameters page:
- Navigate to the Media Plan
- Using the right-hand menu option, click Parameters
- Expand the Advanced Configuration section
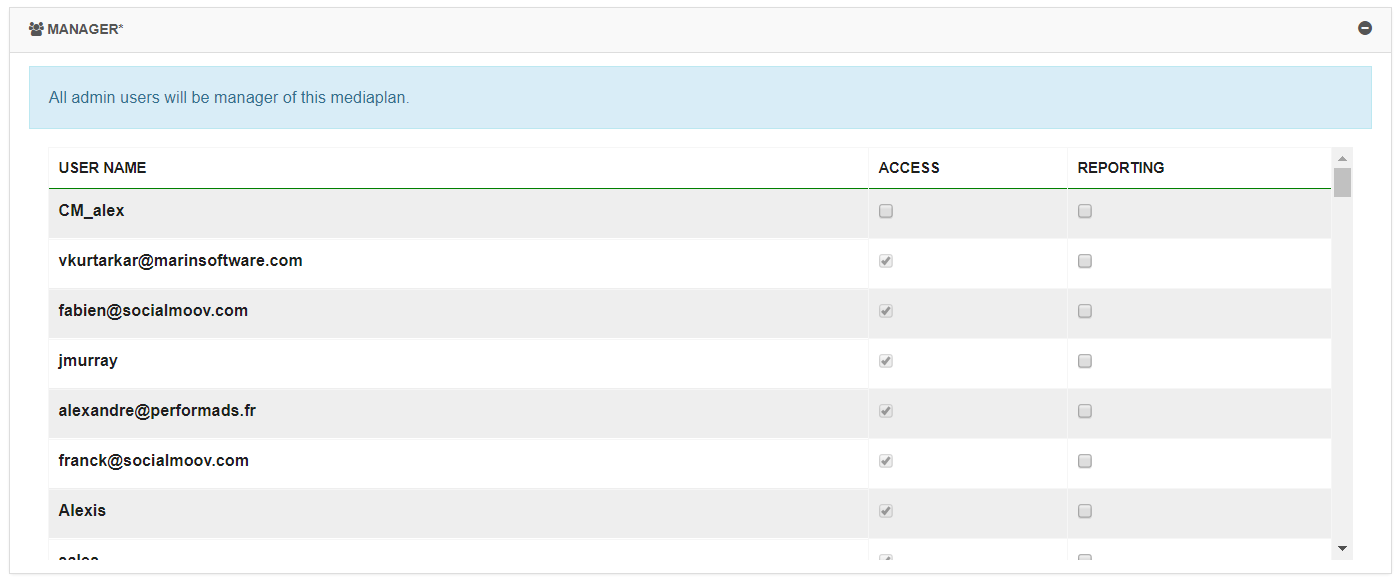
- Next, expand the Manager section
- Use the checkboxes to grant access or reporting access to the Media Plan
- And last but not least, click Save