Marin offers complete control over your data at all times, including a variety of different reporting options, including one-time and recurring reports.
Creating a Report
- Set up the grid with the data you wish to export, including date range, columns, and filters. See below for a note on date ranges.
- Click on the Export button, located in the top-right corner of the grid.
- In the Type section, choose between a CSV or Web Query report.
- By default, the report will include data (run in) only the current client. See below for running the report across multiple Marin Client Accounts.
- Give your report a name. By default, this report will take on the name of the tab where it runs -- for example Campaigns or Keywords. We recommend re-naming your report to make it more easily identifiable.
- In the Schedule section, determine whether you'd like this to be a One-time report or a Recurring report. See below for details on recurring reports.
- Reports can be downloaded from the Marin UI. To have them emailed, enter the appropriate emails.
- Add a Description (optional). This is a great opportunity to add key details about the report, including date ranges, filters, or create a customized message.
Note: Everything that's added in the Description box will be shared with email recipients. - Once all of your report parameters are set, click Run Report. You will see a notification just above the grid letting you know that your report has been created with a link to the report.
Advanced Reporting Options
Date Ranges
When adjusting your date range, keep in mind that the calendar selector has several customizable date range selections that will carry over into your reporting, including:
- Setting a date range into the future. This is beneficial for recurring reports, especially web queries, so that your new report will simply fill in with additional data each time it runs.
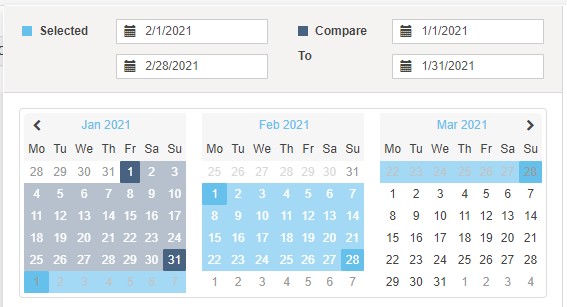
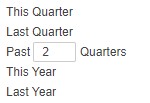
- Last N Days, Weeks, or Quarters allows you to customize your date range to suit your needs. If included in a report, this will always be a rolling number. So, if your report runs daily, it will always run with the last 7 days, 2 months, etc. based on your needs.

- Quarterly and yearly pre-sets, available from the available choices on the right-hand side of the calendar selector.
Cross-client Reporting
Report can run across multiple clients either by selecting specific names or for clients that share a Client Tag. When running on mutiple accounts, the data will be aggregated into a single file and add a Client column to the report.
To learn more about multi-client reporting, check out our dedicated article.
Scheduled/Recurring Reports
There are four main Recurring report options available in Marin: Monthly, Weekly, Daily, and Intraday. We have outlined the menu options below along with some important information about each
|
Monthly Reports  |
|
|
Weekly Reports 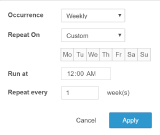 |
|
|
Daily Reports 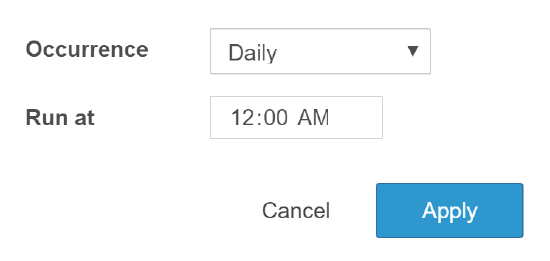 |
|
|
Intraday Reports 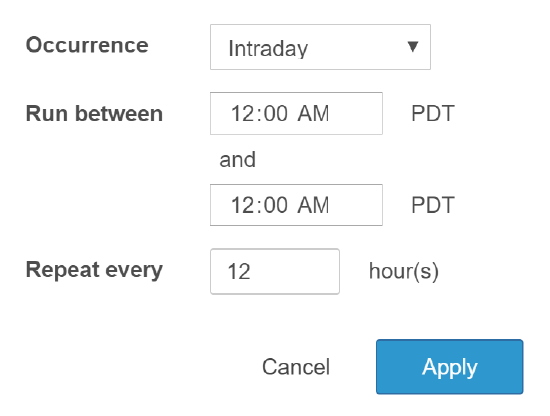 |
|
Downloading Your Reports
- To review and download your reports, in the Left Navigation Bar, under Reports click Completed.
- Download the latest report by clicking on the File icon.

- In place of the green File icon, you might instead see a blue icon, which indicates a web query report. You can learn more about web queries in our dedicated article.

Editing Scheduled Reports
Once your scheduled report has been created, you can follow these instructions to edit your report template.
- In the Left Navigation Bar, under the Reports section click Scheduled
- Click Scheduled to see all reports that are currently scheduled to run.
- Double-click on a report name to open the Side Panel, where you'll be able to edit the report criteria.
- To edit a field, simply hover over the field you wish to edit, click the Edit button ('pencil' icon), and make your desired changes. Click Save or Apply to add your changes to the scheduled report (this option varies based on the specific field you've chosen to edit). Note: The Created By and Channel fields of your scheduled report are static and cannot be edited.
Status cannot be edited in the side-panel, but it can be edited in the grid using the Resume, Pause, and Delete icons above the grid. - Click Save to apply your changes or Cancel to discard your changes.
In the bottom section, you'll see a report preview grid where you can change date ranges, add or remove columns, and add sorting or filters.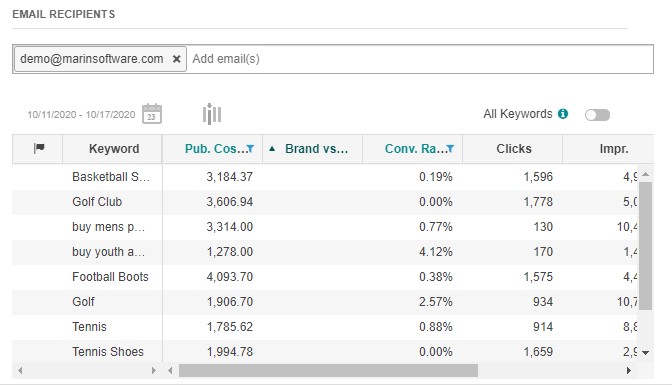
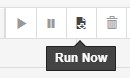
You can run a scheduled report by selecting the check-box next to the desired report and clicking the Run Now button above the grid.
Web Queries
Using a Web Query, with a few simple steps, you can easily import your report data into a spreadsheet editor like Microsoft Excel, then use that spreadsheet as a source of live data. This way, there's no need to drop in and out of the Marin platform, but you still benefit from the in-depth metrics only available from Marin platform.
To learn more about creating web queries from either Marin or Marin Search, check out our dedicated article.
Important Notes
- You can run a scheduled report ad hoc by clicking the Run Now button. This can be found by going to Reports, clicking on the Scheduled sub-tab, and selecting Run Now above the grid.
- Recurring, scheduled reports need at least one hour to begin processing. Reports created for the same hour will begin processing the next day. For example, if it's 10:30 a.m. and you schedule a report to run daily at:
- 11:00am, it will not start processing until the next day.
- 11:30am, it will start processing the same day.
- Please be aware that reporting times are based on when a report will begin processing. For larger reports, it's possible the reporting time may take a few minutes, so please be patient.
- The time of day used for your reports will be based on the time zone of your Marin Client Account, which may or may not be the same as the time zone where you are physically located.
- Please note that all users who have access to a given Marin Client Account will have access to the associated reporting for that client. This is especially important to note for cross-client reporting, as running a cross-client report within a given Marin Client Account will mean all users within that client account have access to that report, including its associated cross-client data. For this reason, we recommend that any cross-client report containing data that shouldn't be shared be deleted after download.
